Collective Guide for Entities
On this page
How to Use
Follow the steps below to understand and take advantage of the collective.
- Go to the collective tab.
- Enter in a key that someone gave to you OR generate your own.
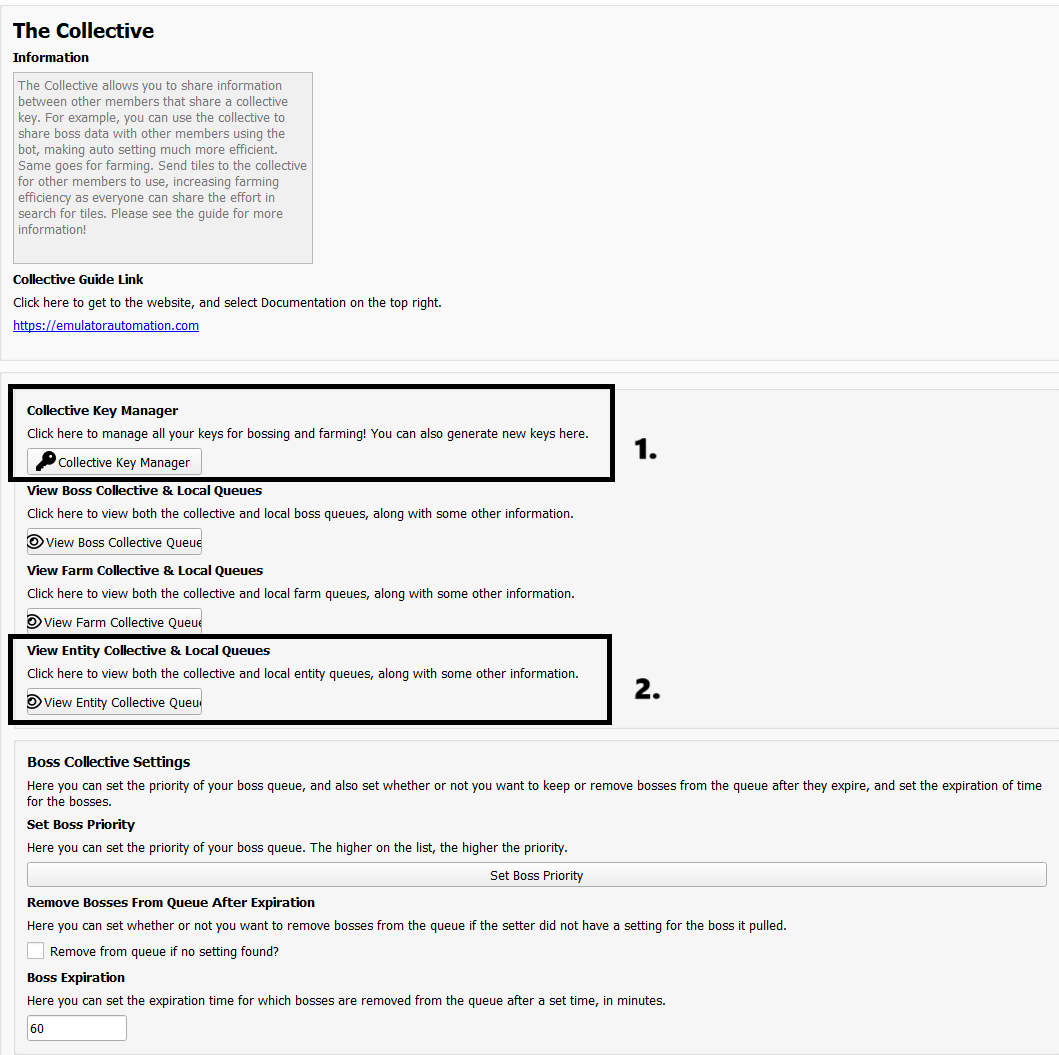
1. Entity Collective Key Manager
- where you can manage multiple keys. Useful for users who want to use collective on multiple servers which require multiple keys.
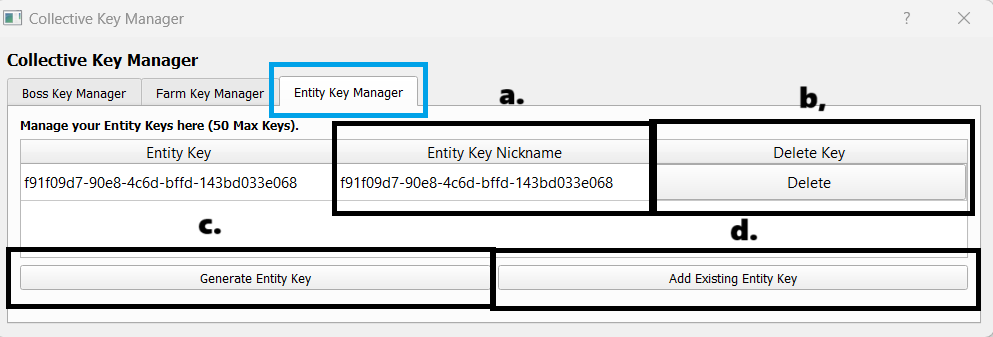
- Entity Key Nickname
- You can add nicknames to the keys to make it easier for you to identify the purpose of each key.
- Delete Key
- You can delete any keys any time.
- Generate Entity Key
- You can generate a new key from here.
- Add Existing Entity Key
- To use the same pool of entities shared from another user, enter in their collective key.
- Any user who enters the same key as you will have their entities shared to your collective. You both can then pull those entities using the auto setter. This helps increase efficiency as other people you know can help you spot entities!
Warning
Make sure you have picked the right collective key for each tab in the profile tab.
2. Entity Collective Queue
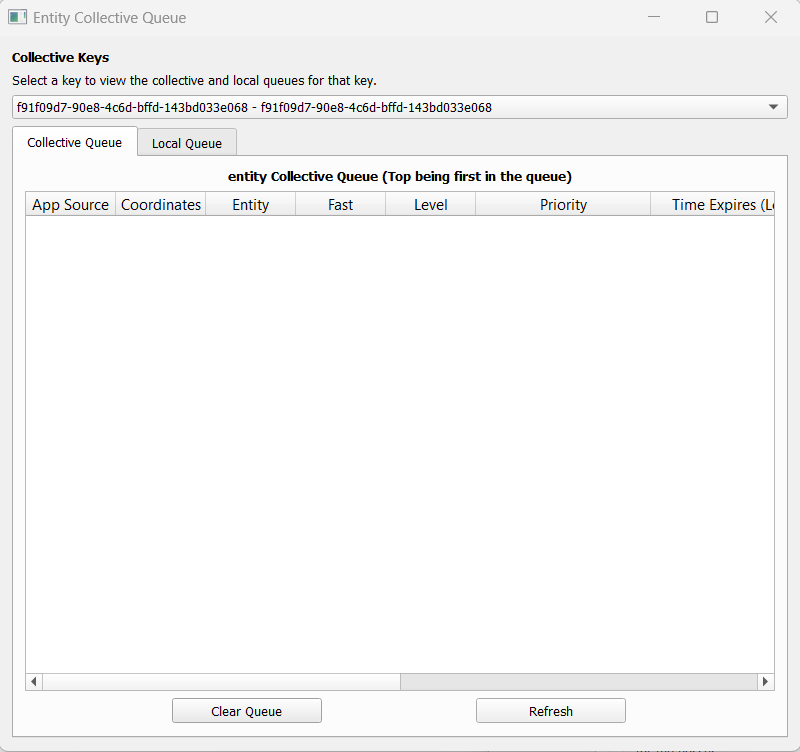
- Select a specific key then you can view what Entities are in them.
- Entity Collective Queue
- Shows a list of Entities found.
- Local Entity Queue
- These are entities stored on your local esb application and are the ones up to be collected next.
- Source of Entities Found
- App Source - Map, Alliance Chat, or Whisper are some of the values you would see so you can identify where it came from.
- User Source - You can identify on bot username who sent the data.
- Fast
- True: Entity was found using Fast Search.
- False: Entity was found using Normal Search.
Note
Make sure to enable “send to collective” in Entity Finder for both collector and finder! More information on Entity Finder Guide.